Facebook
Instagram
Pinterest
YouTube
About
Contact
Newsletter Sign-Up
Disclosure
Privacy Policy
Recipes
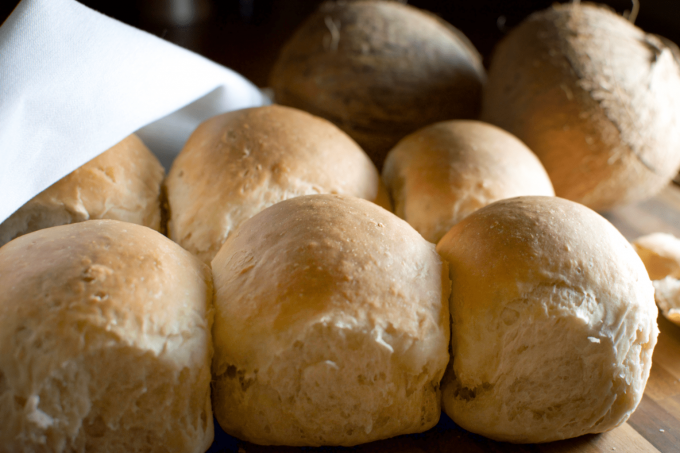
Bread
Coconut Bread
Johnny Cakes
Pastries
Flitters
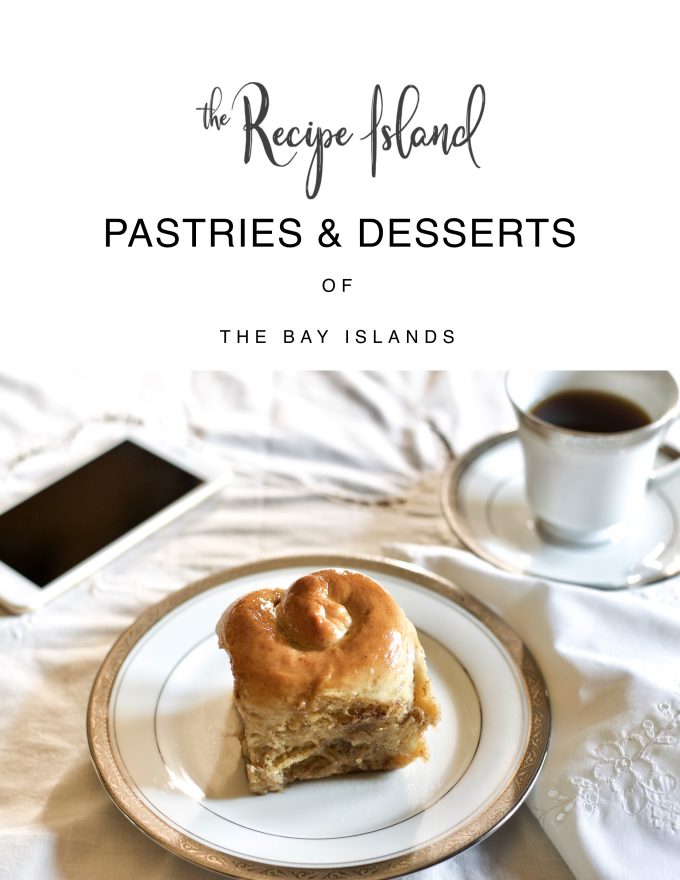
Sticky Cinnamon Buns
Pineapple Surprise Cookies
Desserts
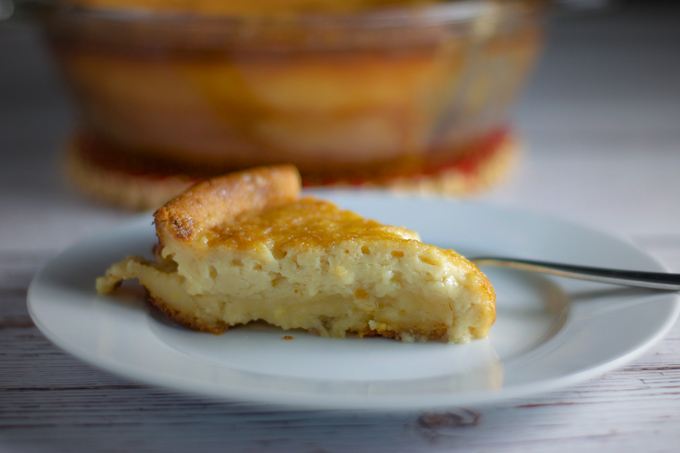
Corn Custard
Corn Rice
Chocolate Fudge
Duff
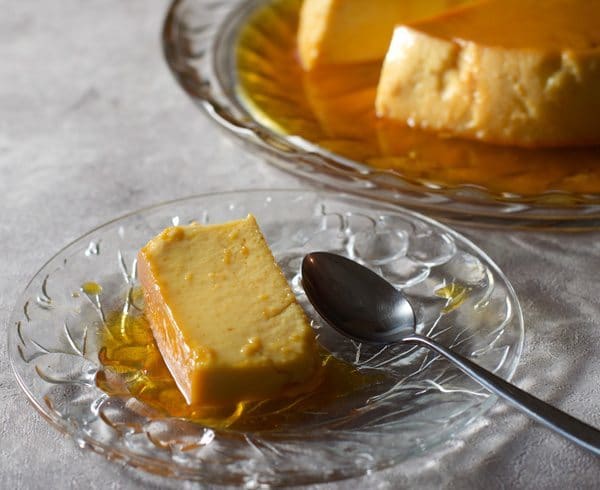
Flan
Five Minute Chocolate Cake
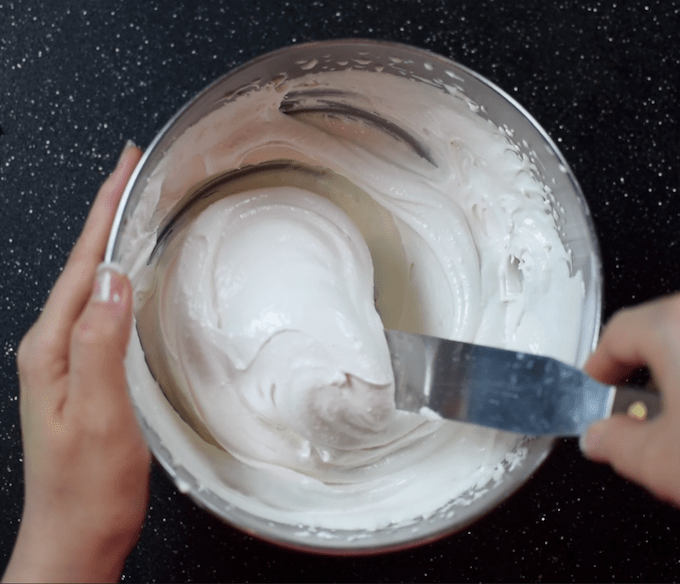
Seven Minute Frosting
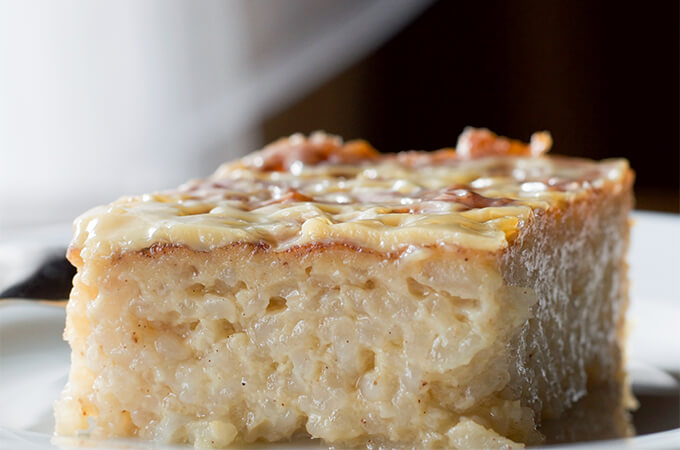
Rice Cake
Yuca Cake
Honduran
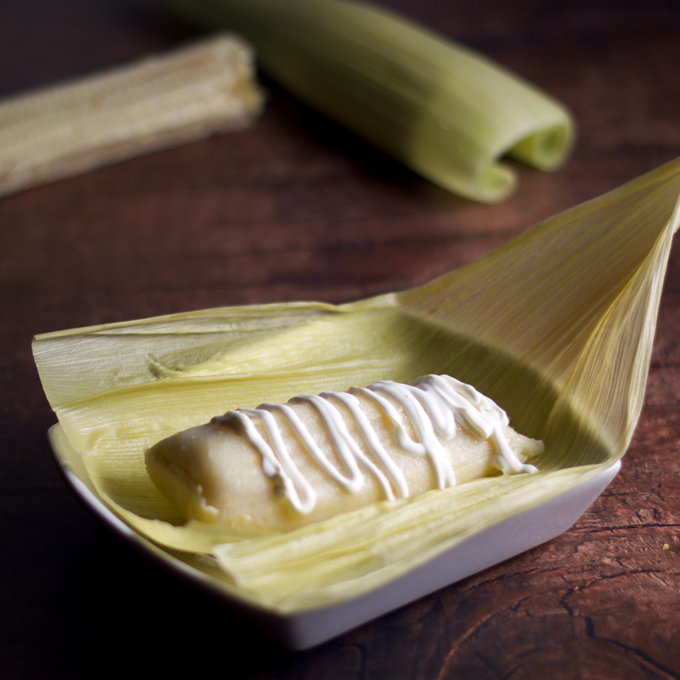
Sweet Corn Tamales
Flour Tortillas
Honduran Red Beans
Refried Beans
Baleadas
Pepper Steak with Easy Pan Gravy
Spicy Mango Cilantro Salsa
Shop
therecipeisland
October 2, 2018
Traditional Bay Island Desserts Cookbook
January 16, 2018
Corn Rice
October 22, 2017
Sweet Corn Tamales – “Tamalitos”
September 28, 2017
Corn Custard
September 3, 2017
Duff
August 22, 2017
Seven Minute Frosting
August 18, 2017
Five Minute Chocolate Cake
August 13, 2017
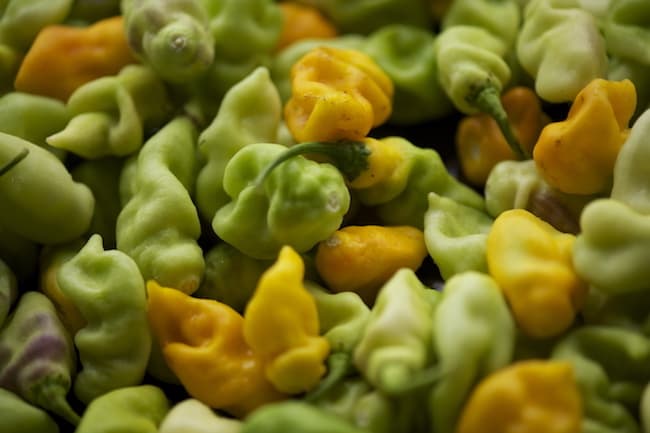
Mutton Peppers
July 26, 2017
Yuca Cake
July 6, 2017
Flan – Dessert Recipe
June 28, 2017
Johnny Cakes
June 23, 2017
Mango Jam Recipe
June 18, 2017
Rice Cake
June 11, 2017
Coconut Bread
June 4, 2017
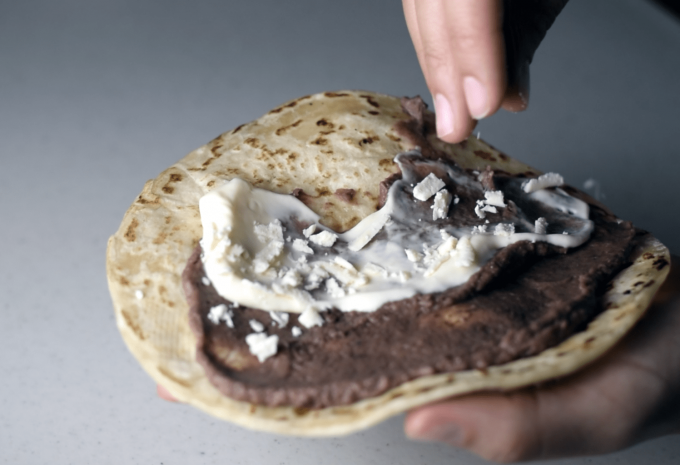
Honduran Baleadas!
May 31, 2017
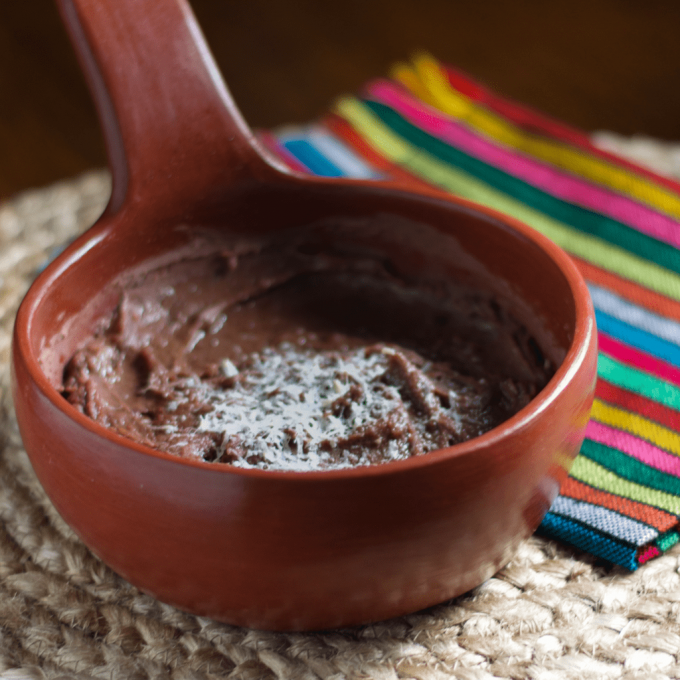
Honduran Refried Beans (Frijoles Refritos)
May 29, 2017
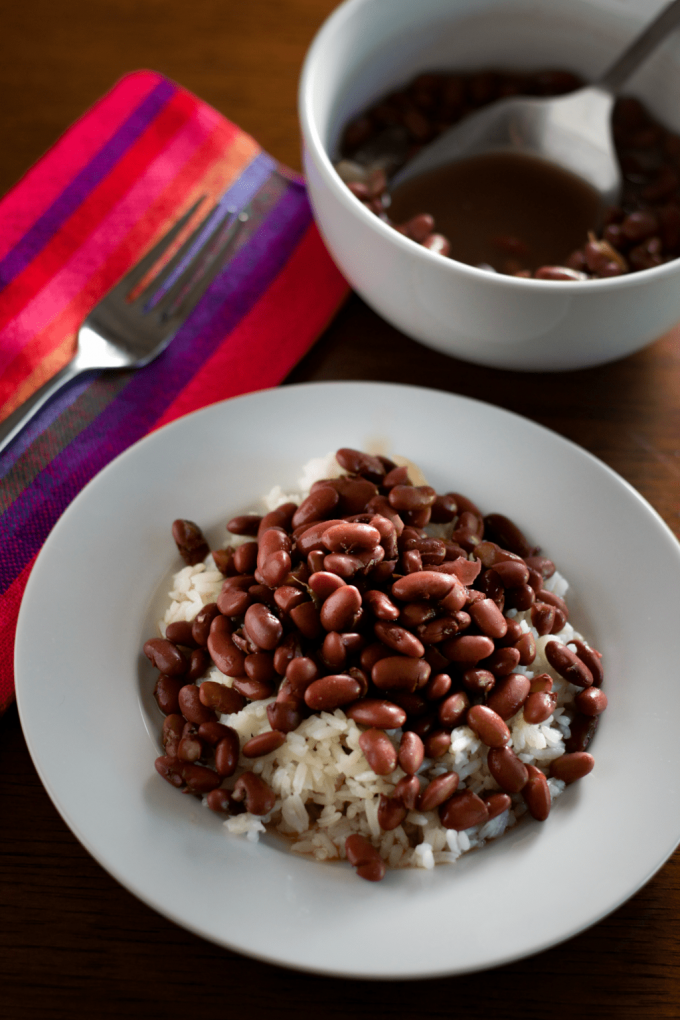
Honduran Red Beans
May 22, 2017
How to Make Pineapple Jam
May 19, 2017
Pineapple Surprise Cookies
May 14, 2017
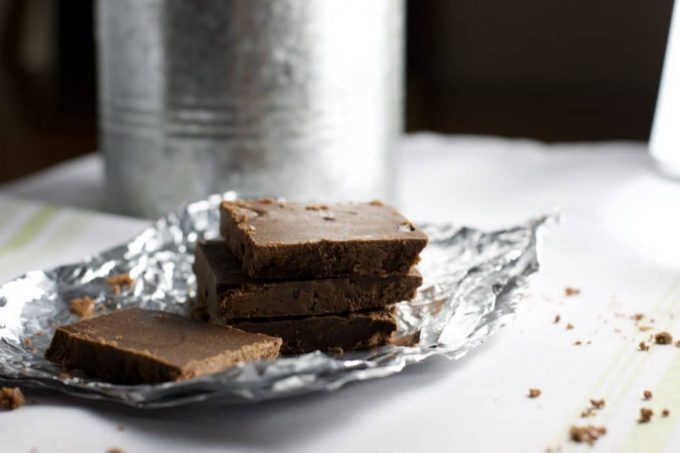
Chocolate Fudge
May 9, 2017
Banana Fritters
May 5, 2017
Homemade Flour Tortillas
May 4, 2017
Sticky Cinnamon Buns
April 27, 2017
Pepper Steak with Easy Pan Gravy
Next Page
→
Loading Comments...
Write a Comment...
Email
Name
Website